


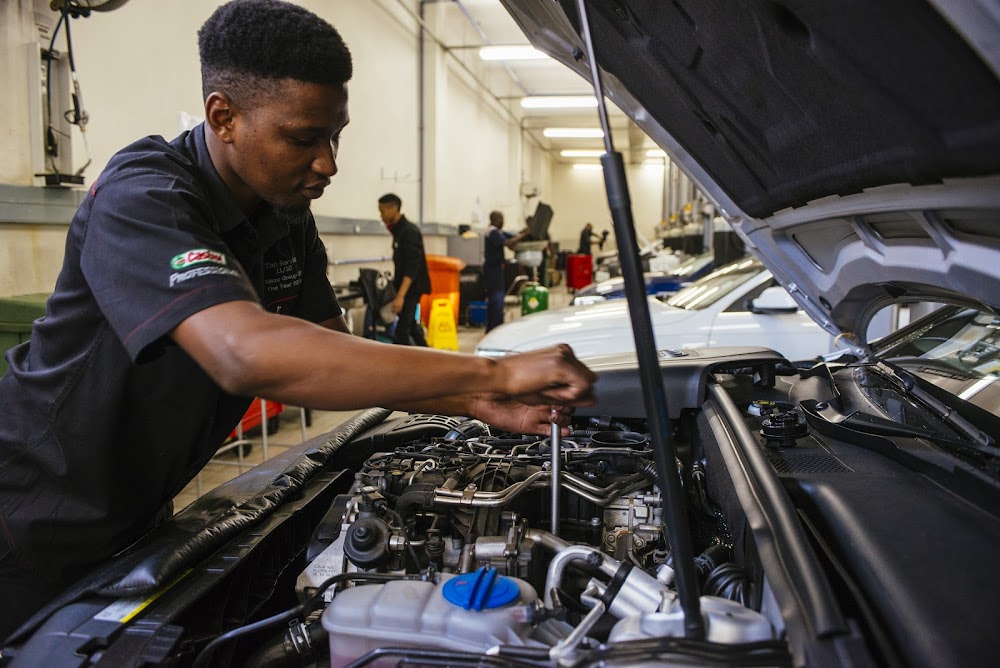
Brake pads play a critical role in a vehicle’s braking system, and it’s important to replace them regularly to ensure maximum safety and performance. While you can have a mechanic change your brake pads for you, it’s also possible to do it yourself with the right tools and knowledge. In this article, we will provide a comprehensive guide on how to change your brake pads step by step.
Step 1: Gather the necessary tools and materials
Before you begin, you’ll need to gather some tools and materials. These include:
- A jack and jack stands
- A lug wrench
- A socket wrench
- A C-clamp or brake piston tool
- New brake pads
- Brake grease or anti-seize lubricant
- Brake cleaner
- A torque wrench (optional)
Step 2: Prepare your vehicle
Park your car on a level surface and engage the parking brake. Loosen the lug nuts on the wheels you will be working on, but don’t remove them completely. Use a jack to lift the car off the ground, and then support it on jack stands. Remove the lug nuts and wheels to access the brakes.
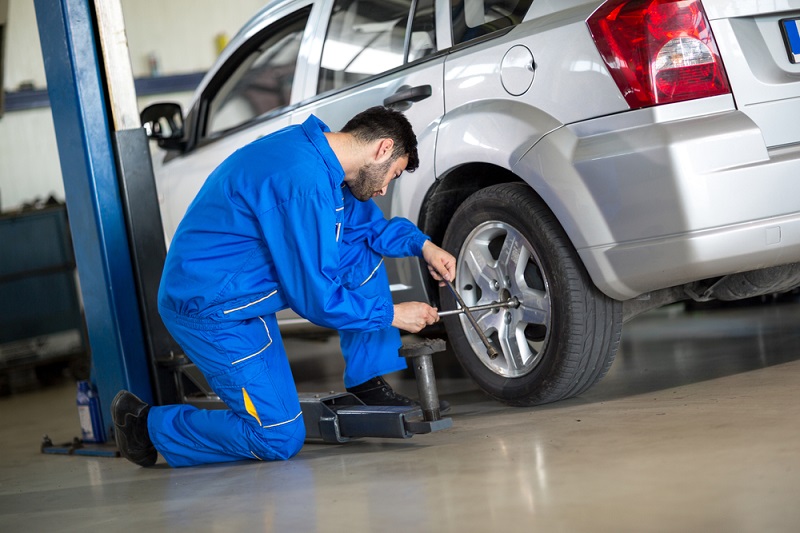
Step 3: Remove the old brake pads
Use a socket wrench to remove the bolts holding the brake calliper in place. Gently remove the calliper from the rotor and secure it to the suspension with a wire or bungee cord. Remove the old brake pads from the calliper or brake carrier.
Step 4: Replace the brake pads
Apply a small amount of brake grease or anti-seize lubricant to the back of the new brake pads. Insert the new brake pads into the calliper or brake carrier. Use a C-clamp or brake piston tool to push the calliper piston back into its bore to make room for the new, thicker brake pads.
Step 5: Reinstall the brake calliper
Once the new brake pads are in place, reattach the brake caliper to the rotor and tighten the bolts to the manufacturer’s recommended torque specifications. Make sure the brake pads are securely in place and the caliper moves smoothly.
Step 6: Reinstall the wheel and test the brakes
Put the wheel back on and tighten the lug nuts in a star pattern to ensure even tightening. Lower the car to the ground and use a torque wrench to tighten the lug nuts to the manufacturer’s recommended specifications. Repeat this process for all four wheels. Pump the brakes a few times to ensure the pads are seated properly and the caliper is working correctly. Test drive the car to ensure the brakes are working properly.
Step 7: Clean up
Once you’ve finished changing your brake pads, it’s important to clean up properly. Use brake cleaner to clean any grease or brake dust off the calipers and rotor. Dispose of any used brake pads and other materials properly.
In conclusion, changing your brake pads is a relatively simple task that can be done with the right tools and knowledge. Regularly replacing your brake pads will ensure optimal safety and performance for your vehicle. If you’re not comfortable doing it yourself, don’t hesitate to take your car to a qualified mechanic.