


Your vehicle’s air filter is responsible for preventing harmful contaminants such as dirt, dust, and debris from entering your engine. Over time, the filter can become clogged, reducing airflow and affecting your vehicle’s performance. It’s essential to replace your air filter regularly to maintain your engine’s health and performance. In this article, we’ll provide a simple guide to replacing your air filter, including the tools you’ll need and the proper technique for removing and installing a new filter.
Step 1: Determine the Type of Air Filter You Need
Before you begin, it’s essential to determine the type of air filter your vehicle requires. Refer to your owner’s manual or consult with a mechanic to identify the correct filter. Some vehicles use reusable filters that can be cleaned and reused, while others require a disposable filter that must be replaced.
Step 2: Gather the Necessary Tools
Once you have identified the correct filter, gather the necessary tools for the job. You will need:
- A new air filter
- A flathead screwdriver or pliers (depending on your vehicle)
- A vacuum or compressed air (optional)
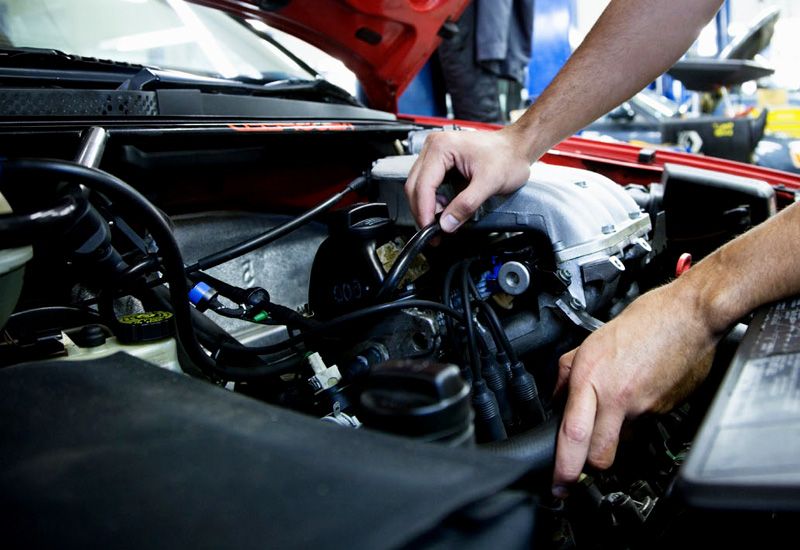
Step 3: Locate the Air Filter Housing
The air filter housing is usually located near the engine’s front and can be easily identified by its ductwork. Open the housing by releasing any clips or screws that hold it in place. Some vehicles have multiple housing units, so be sure to locate the correct one.
Step 4: Remove the Old Air Filter
Remove the old air filter from the housing, taking note of its orientation. If the filter is disposable, simply discard it. If it’s a reusable filter, use a vacuum or compressed air to remove any debris and then clean it according to the manufacturer’s instructions.
Step 5: Install the New Air Filter
Insert the new air filter into the housing, making sure it’s properly aligned and seated. Replace any clips or screws that were removed to open the housing.
Step 6: Check the Air Filter Seal
Check that the air filter seal is properly seated around the housing. If the seal is damaged or missing, it must be replaced to prevent unfiltered air from entering the engine.
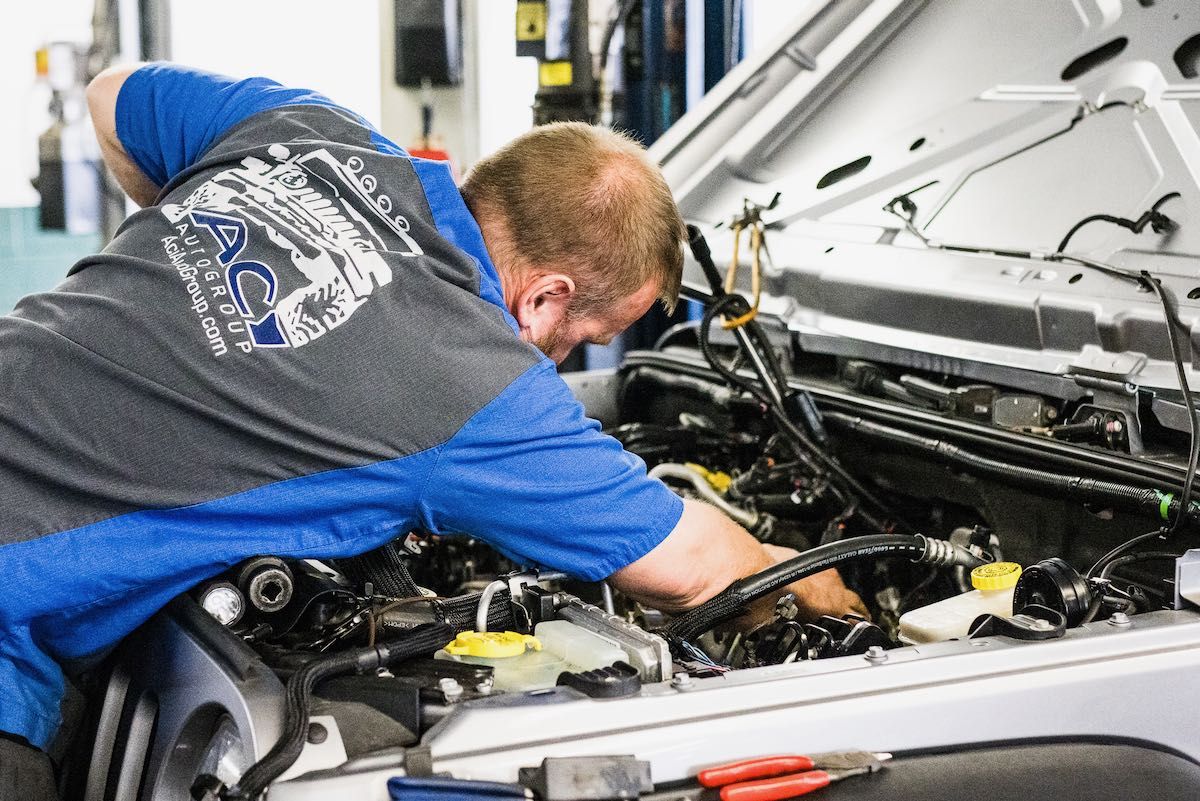
Step 7: Test Your Vehicle
After installing the new air filter, start your vehicle and check for any unusual noises or vibrations. Test drive your vehicle to ensure it’s running smoothly.
Replacing your air filter is a relatively simple task that can have a significant impact on your vehicle’s performance and engine health. By following these simple steps, you can replace your air filter in just a few minutes and ensure that your engine is protected from harmful contaminants. Remember to replace your air filter regularly, as recommended by your vehicle’s manufacturer, for optimal performance and longevity.